Every Mailchimp audience has a set of fields that store subscriber data — name, email, address, and any custom fields you create. In other words, Mailchimp merge tags are the labels that identify these fields behind the scenes. This guide shows you exactly how to find your Mailchimp merge tags so you can map them correctly in Chimpmatic.
By Renzo Johnson — developer of Chimpmatic (50,000+ active installations). Based on 10 years of mapping CF7 fields to Mailchimp audiences.
Before you can view or use merge tags, you need a working API connection. Start with our Mailchimp API key guide if you have not connected yet.
FNAME, LNAME, EMAIL) that correspond to audience fields where subscriber data is stored. Every Mailchimp audience has 5 default merge tags. You can add up to 25 custom fields (30 total; 80 on Premium plans). To find them, go to Audience > All contacts > Settings > Audience fields and merge tags.
What Are Mailchimp Merge Tags?
A merge tag is a short label that Mailchimp assigns to each audience field. For example, the first name field uses the merge tag FNAME, and the last name field uses LNAME. Additionally, Mailchimp assigns numbered tags like MERGE2 or MERGE3 to custom fields you add later.
Moreover, merge tags only use uppercase letters, numbers, or underscores. No special characters or symbols are allowed. When you see merge tags written as *|FNAME|* in Mailchimp email templates, the pipes and asterisks are template syntax — the actual tag name is just FNAME.
Consequently, when mapping fields in Chimpmatic, you only need the tag name itself — for instance FNAME, not *|FNAME|*.
Step 1: Open Your Mailchimp Audiences
To find your Mailchimp merge tags, first navigate to your audience list. Specifically, go to Audience > All contacts in your Mailchimp dashboard, or visit https://admin.mailchimp.com/lists directly.
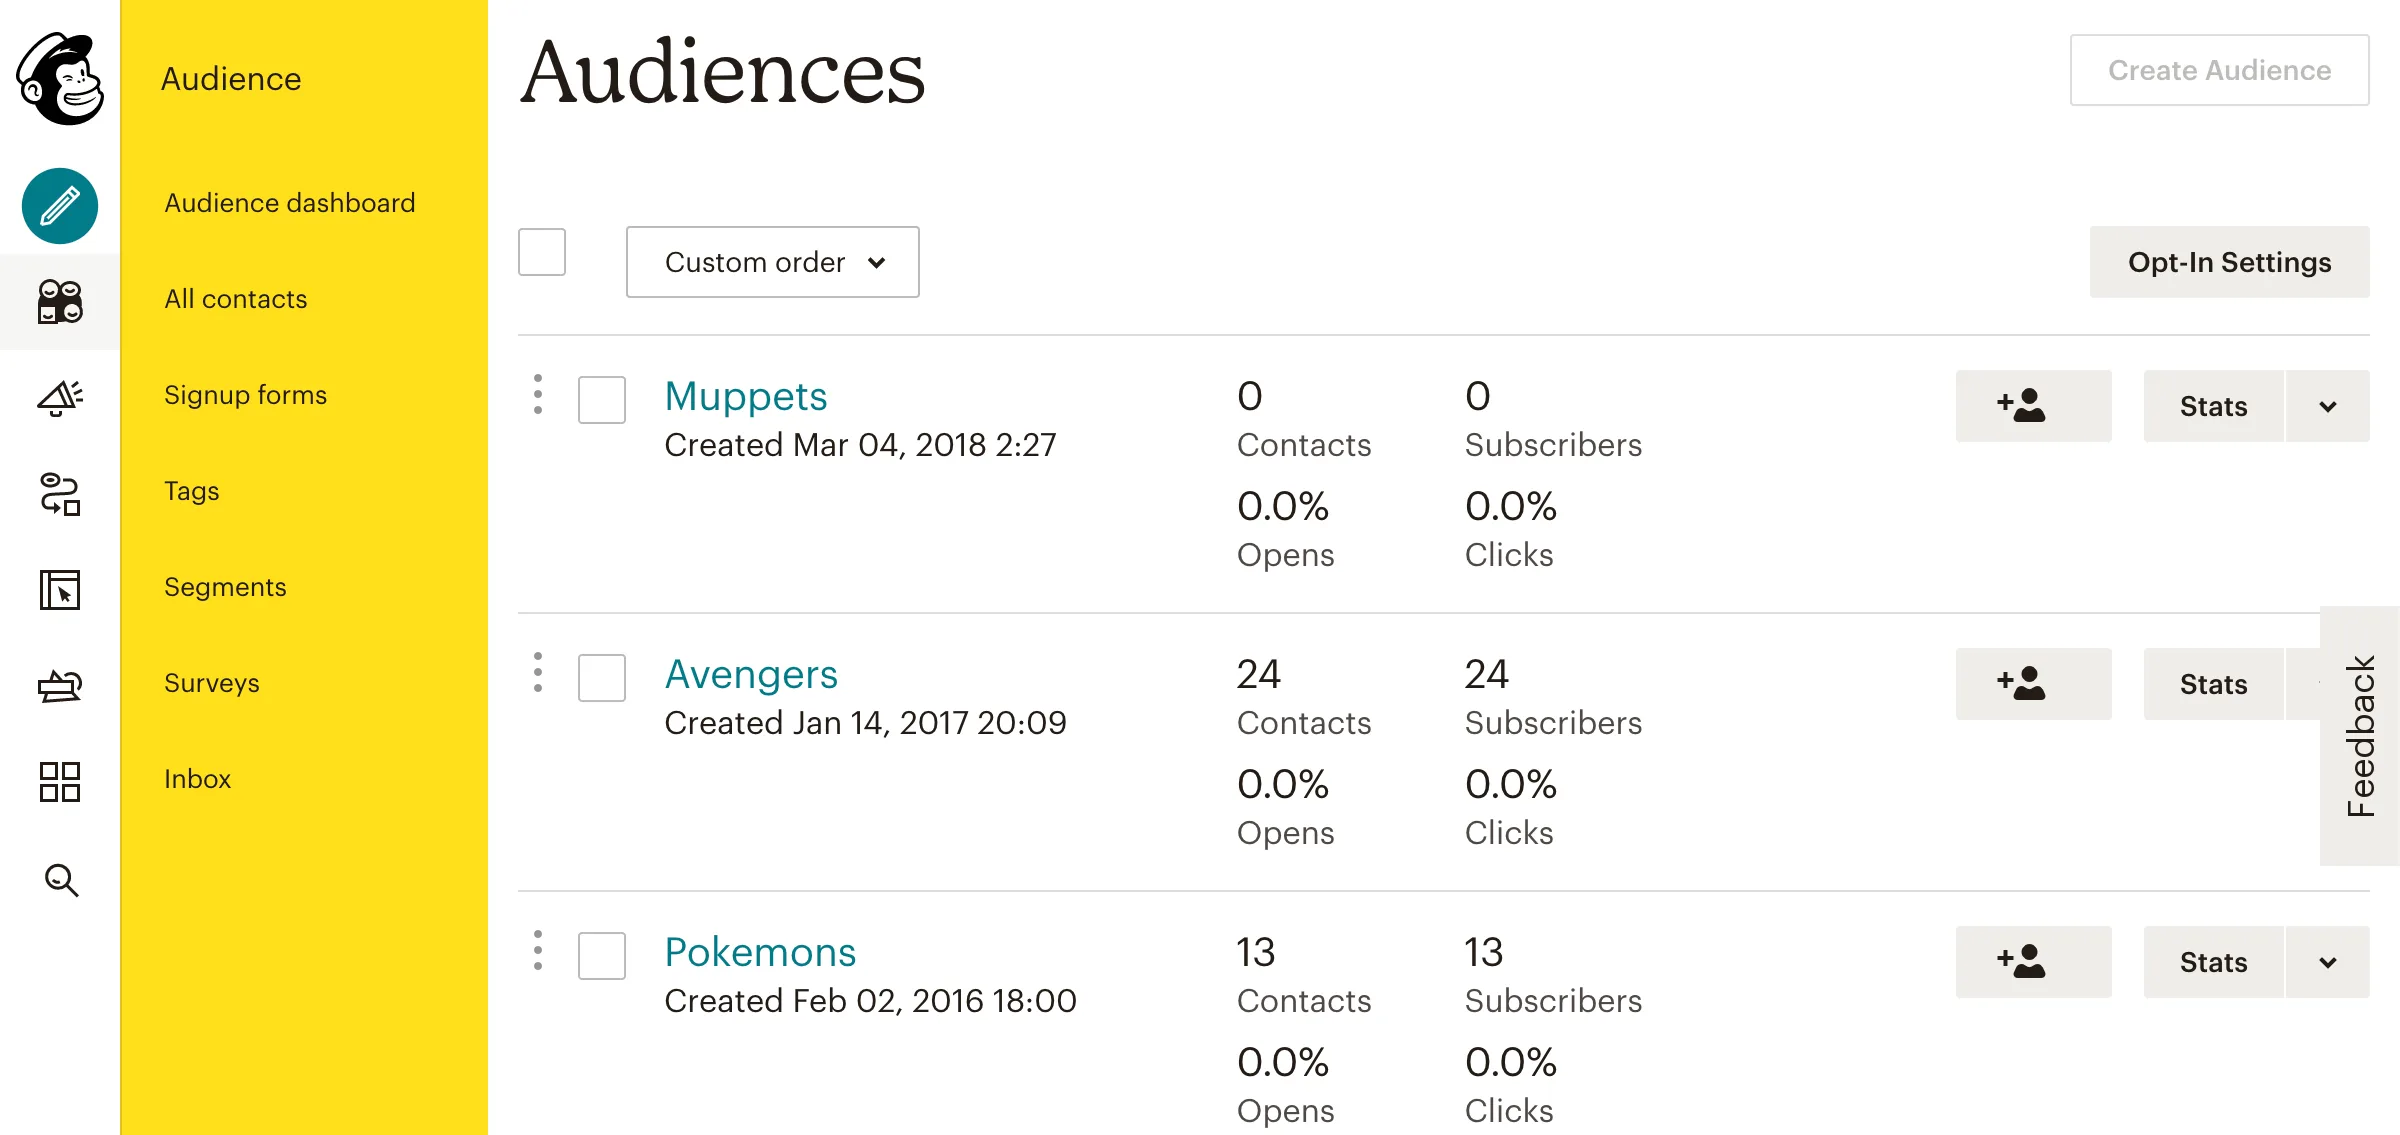
On this page you will see a listing of all your audiences. From here, select the audience whose merge tags you want to view or modify.
Step 2: Navigate to Audience Settings
After selecting your audience, you need to find the field settings. In particular, look for the Settings dropdown and click Audience fields and *|MERGE|* tags.
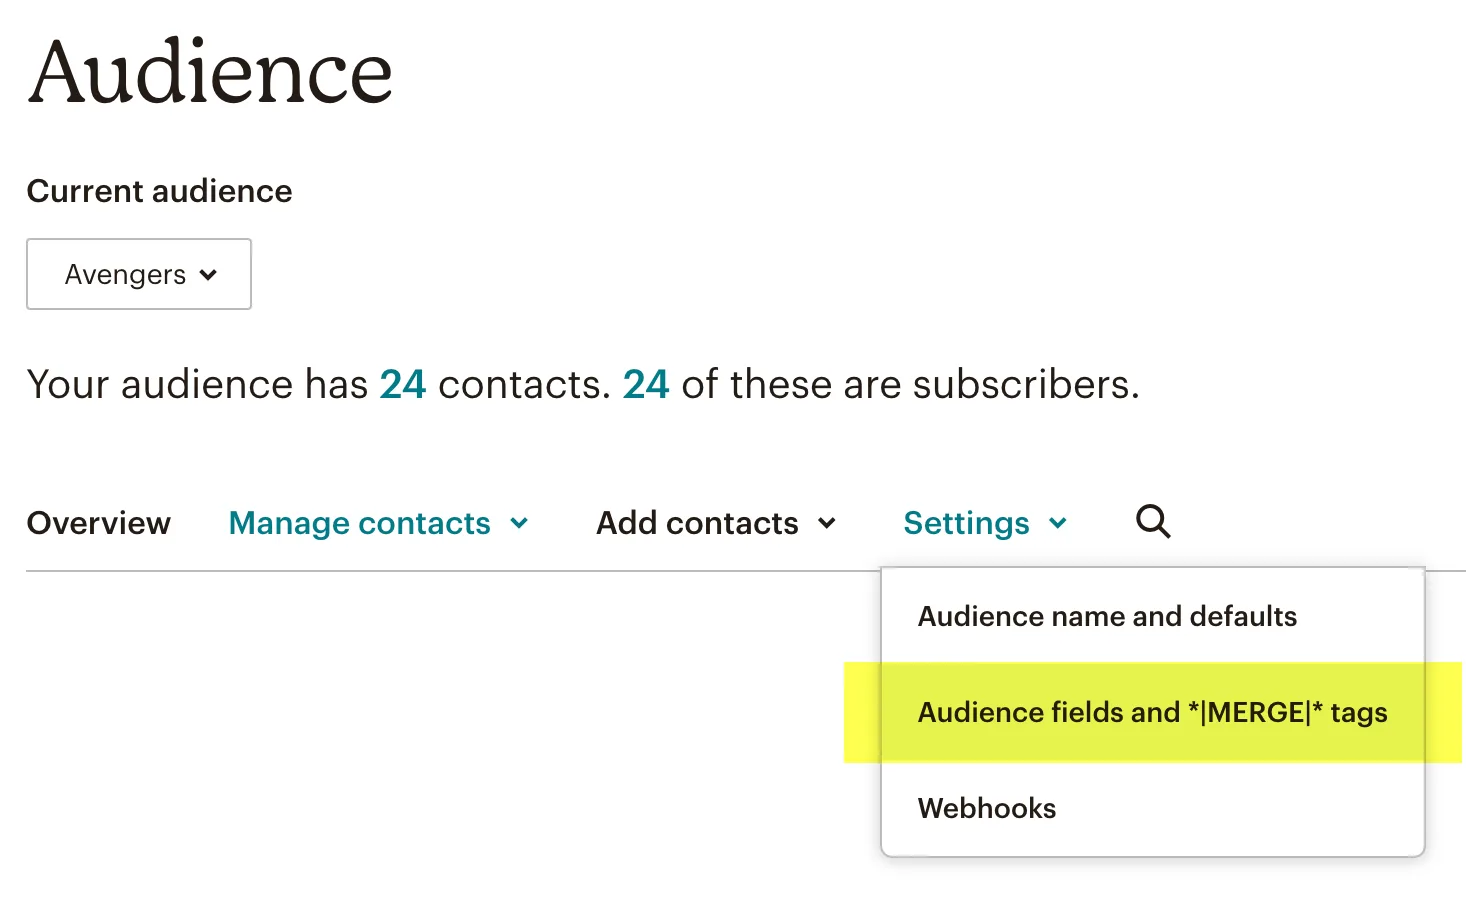
In the screenshot above, the link to the merge tags page is highlighted in yellow. Click on it to see all the fields and their corresponding Mailchimp merge tags.
Step 3: View Your Merge Tags
The audience fields page shows every field available to your signup forms. Furthermore, each field displays its merge tag name on the right side.
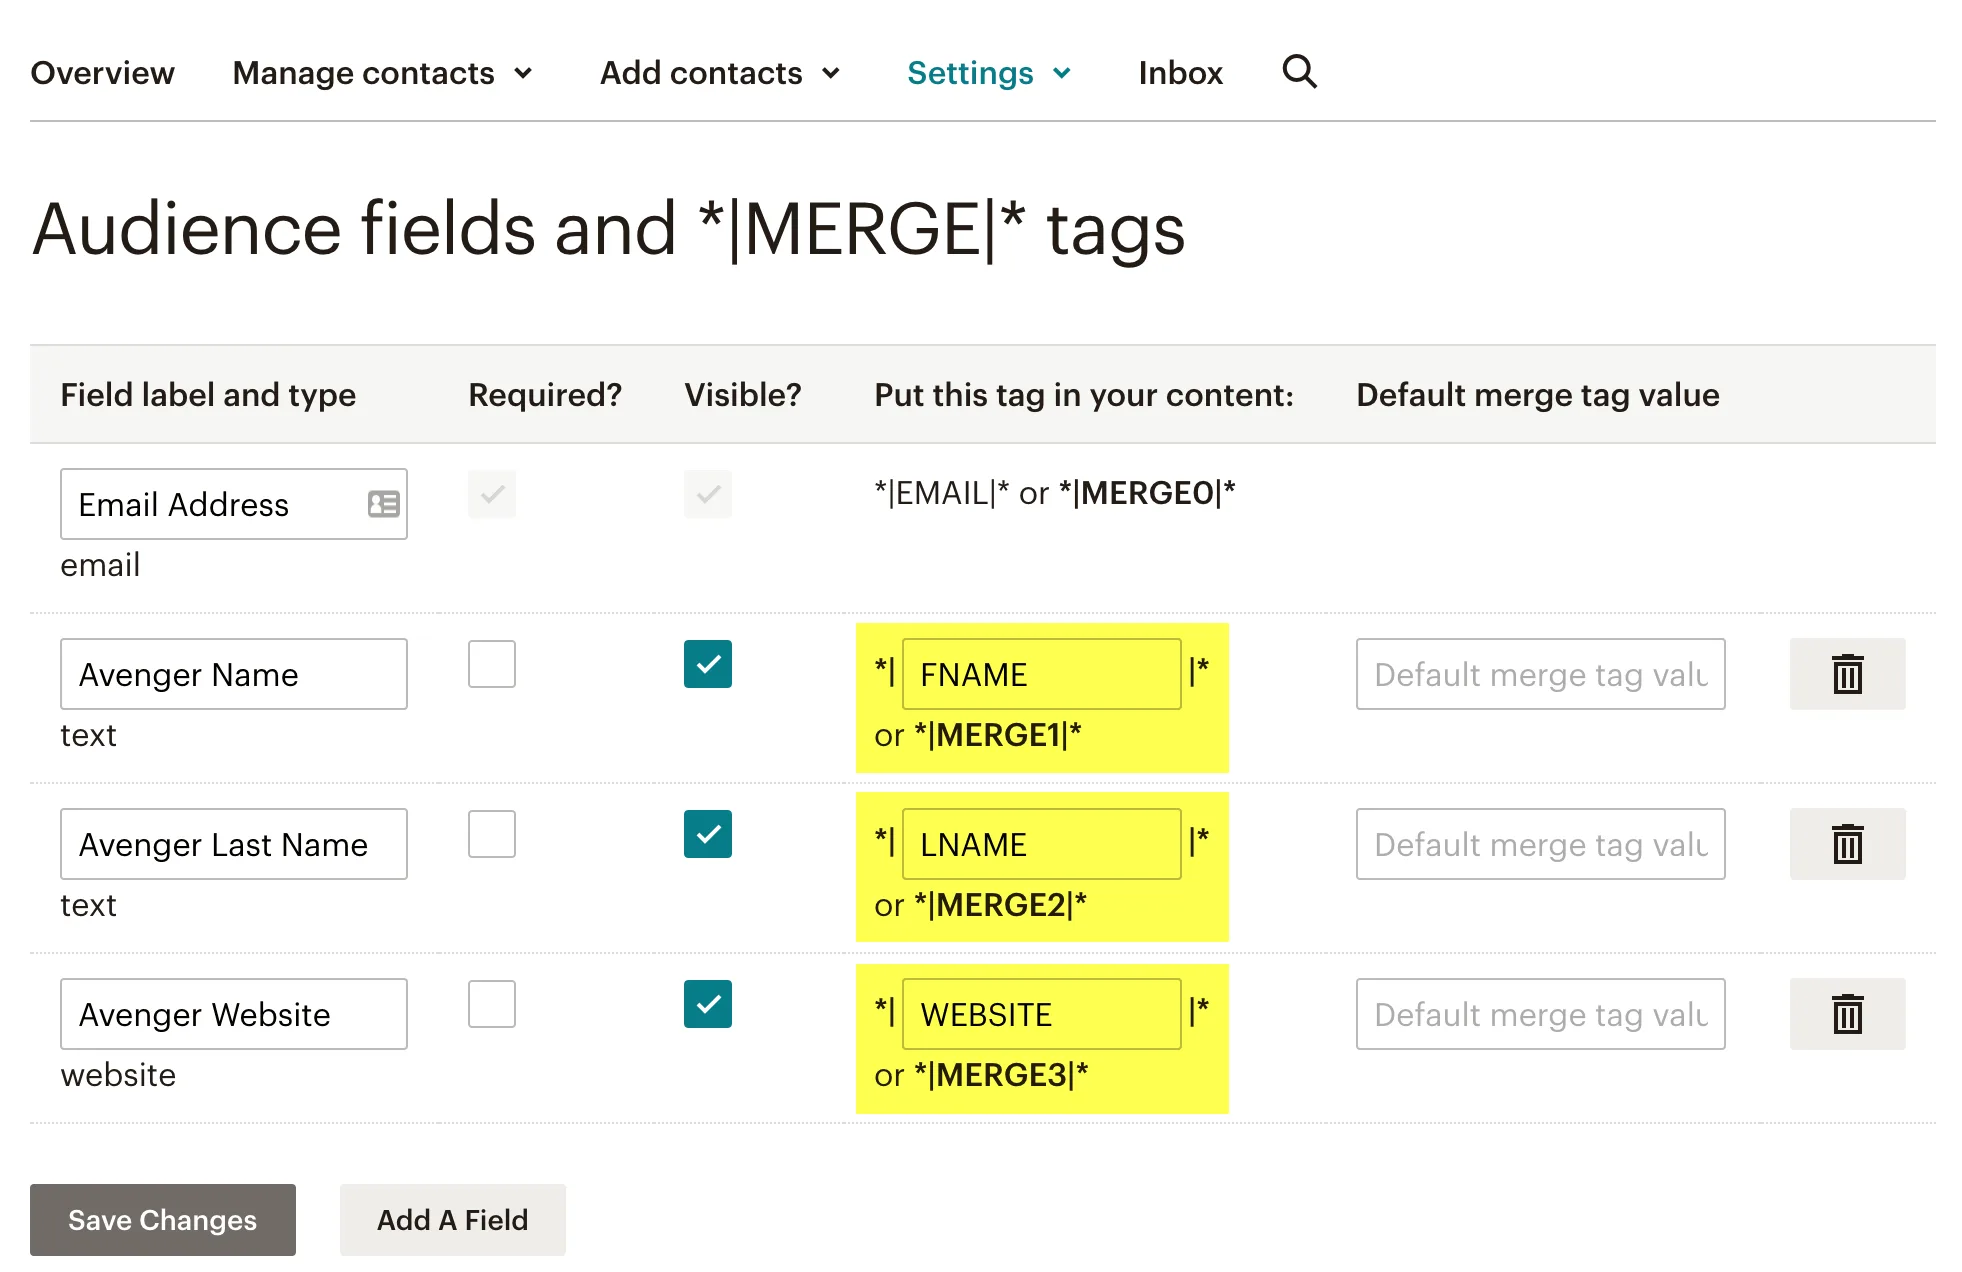
As you can see, the default Mailchimp merge tags include:
- EMAIL — The subscriber’s email address (required, cannot be removed).
- FNAME — First name.
- LNAME — Last name.
- ADDRESS — Mailing address.
- PHONE — Phone number.
Default Merge Tags Reference Table
Every Mailchimp audience starts with these 5 default merge tags. The CF7 Field column shows the corresponding Contact Form 7 mail-tag for Chimpmatic mapping.
| Merge Tag | Contains | Type | Required? | CF7 Field Example |
|---|---|---|---|---|
EMAIL |
Email address | Yes (cannot be removed) | [email* your-email] |
|
FNAME |
First name | Text | No (hidden by default) | [text* your-name] |
LNAME |
Last name | Text | No (hidden by default) | [text your-last-name] |
ADDRESS |
Mailing address | Address | No (hidden by default) | [text your-address] |
PHONE |
Phone number | Phone | No (hidden by default) | [tel your-phone] |
BIRTHDAY |
Month and day | Birthday | No (not default, but common) | [date your-birthday] |
The CF7 field examples above are for Chimpmatic mapping. In Chimpmatic, you enter the merge tag name (FNAME) — not the template syntax (*|FNAME|*).
Any custom fields you add will receive either a name you choose or an auto-generated tag like MERGE6 or MERGE7. For a detailed explanation of what each default field does, see Mailchimp Default Audience Fields Explained.
Adding Custom Merge Tags
To add a new field, click Add A Field at the bottom of the audience fields page. Mailchimp lets you choose from several field types:
- Text — A single-line text field for short values like a company name.
- Number — Accepts numeric values only.
- Date — A full date field (with year).
- Birthday — Month and day only, for recurring annual automations.
- Dropdown — A list of predefined options.
- Radio buttons — Select one option from a visible list.
- Checkboxes — Select multiple options.
Field Type Comparison
Each field type behaves differently. This table shows when to use each type and the matching Contact Form 7 field.
| Field Type | Best For | Creates Group? | CF7 Equivalent |
|---|---|---|---|
| Text | Names, company, short answers | No | [text] |
| Number | Age, quantities, scores | No | [number] |
| Date | Full dates (month/day/year) | No | [date] |
| Birthday | Month and day only (annual events) | No | [date] |
| Dropdown | Single choice, compact display | Yes | [select] |
| Radio Buttons | Single choice, all options visible | Yes | [radio] |
| Checkboxes | Multiple interests/preferences | Yes (always) | [checkbox] |
| Address | Full mailing address | No | (multiple [text] fields) |
| Phone | Local or international numbers | No | [tel] |
Important: Once you create a field, you cannot change its type. If you need a different type, you must delete the field and create a new one. Plan your field types before adding subscriber data.
After creating the field, Mailchimp assigns a merge tag automatically. However, you can edit the tag name to something more descriptive — for example, changing MERGE6 to COMPANY.
Merge Tags vs Tags vs Groups vs Segments
Mailchimp uses several similar-sounding terms. Here is what each one means and how they differ.
| Feature | What It Is | Who Sets It | Visible to Contacts? | Used in Emails? |
|---|---|---|---|---|
| Merge Tags | Labels for audience field data (FNAME, LNAME) | Mailchimp (auto-generated) | No | Yes — for personalization |
| Audience Fields | Data storage containers (the columns) | Account admin | On signup forms | Via merge tags |
| Tags | Labels you apply to contacts for organization | You or automation | No | No (for segmentation) |
| Groups | Preference categories contacts can select | Contacts (via forms) | Yes (on signup forms) | For targeting |
| Segments | Filtered views of contacts based on rules | Account admin | No | For campaign targeting |
In Chimpmatic, you work primarily with merge tags (for field mapping) and tags (for subscriber tagging). Groups are supported in Chimpmatic PRO.
Mapping Merge Tags in Chimpmatic (CF7)
Once you know your Mailchimp merge tags, mapping them in Chimpmatic is straightforward. Open the Chimpmatic tab in your Contact Form 7 form editor and enter each merge tag next to its corresponding CF7 mail-tag.
For instance, if your form has a field called [text* your-name] and you want it to populate the subscriber’s first name in Mailchimp, map the mail-tag your-name to the merge tag FNAME.
Most importantly, the merge tag in Chimpmatic must match exactly what appears in your Mailchimp audience settings — including capitalization. If your merge tag is FNAME, do not enter fname or Fname.
For a complete walkthrough of connecting your form, see Connect Contact Form 7 to Mailchimp. To learn how to map birthday fields specifically, see Send Birthday Fields to Mailchimp.
Field Limits and Constraints
Mailchimp imposes limits on audience fields that you should know before adding custom fields.
- Maximum fields: 30 per audience on Standard plans. 80 on Premium.
- Field value limit: 255 bytes per field value.
- Label limit: 50 bytes per field label.
- Type is permanent: Once a field is created, you cannot change its type. You must delete and recreate it.
- Merge tag names: Uppercase letters, numbers, and underscores only. Maximum 10 characters.
- Reserved names: Do not use EMAIL, FNAME, LNAME, ADDRESS, or PHONE as custom tag names — these are already taken by defaults.
If you are approaching the 30-field limit, consider using Tags instead of custom fields for binary attributes (like “came from contact page” vs “came from pricing page”). Tags do not count toward the field limit.
Troubleshooting Merge Tag Errors
However, there are a few common errors when working with Mailchimp merge tags:
- Using pipes and asterisks. In Chimpmatic, enter
FNAME— not*|FNAME|*. The pipe syntax is for Mailchimp email templates only. - Wrong capitalization. Merge tags are case-sensitive.
FNAMEandfnameare not the same. - Using a tag from a different audience. Each audience has its own set of merge tags. If you switch audiences in Chimpmatic, verify that the merge tags still match.
- Mapping to a non-existent tag. If you enter a merge tag that does not exist in your audience, Mailchimp will silently ignore that field. As a result, the data will not appear in the subscriber’s profile.
FNAME Shows Blank in Emails
If a subscriber’s first name field is empty, the merge tag renders as blank in emails. To prevent this, set a default value in Mailchimp: go to Audience fields, click the field settings, and enter a fallback like “there” or “Friend.” The email will then say “Hi Friend” instead of “Hi .”
Merge Tag Shows Raw Code Instead of Values
If you see *|FNAME|* literally in a received email instead of the subscriber’s name, the merge tag syntax is wrong or the email was sent as a test. Mailchimp test emails do not always populate contact-specific merge tags — send a real campaign to a test subscriber instead.
Data Not Appearing After Form Submission
In our experience supporting 50,000+ Chimpmatic installations, the most common cause is a merge tag mismatch — the tag name in Chimpmatic does not exactly match what is in Mailchimp. Check capitalization, check that you selected the correct audience, and verify the field exists in your Mailchimp audience settings.
Next Steps
- Mailchimp Default Audience Fields Explained — learn what each default field does.
- Connect Contact Form 7 to Mailchimp — full setup guide.
- Send Birthday Fields to Mailchimp — map birthday merge tags.
- Mailchimp audience fields documentation — official reference for managing audience fields.
Related reading: For a broader view of how the email-marketing landscape is shifting, see our 2026 analysis of why people are leaving Mailchimp — the data, the reasons, and where users are migrating.
When you need to wire merge fields end-to-end, follow the canonical CF7 + Mailchimp setup guide.